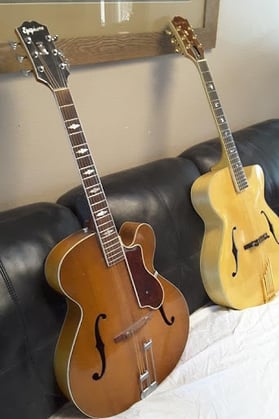
One of the things I most wanted to do when I began guitar construction was to create a copy of my ’48 Epiphone Triumph Regent (Regent meaning “cutaway”). As the big band era became a popular craze, guitarists wanted larger and more powerful guitars that could be heard in a big band setting. Gibson was well known for creating these 17” archtops, but by the 1930, Gibby had real competition from the New York based Epiphone. In fact, many players, then and now, believe that the Epiphones of the ‘40’s were superior to their Gibson counterparts. I loved my Triumph—its voice, its feel—and I wanted to see how close I could get to imitating it.
What follows is a skeletal description of the guitar’s inception, construction, and birth. Each step—making the fixtures, bending sides, carving plates, carving the neck, inlay—
could easily merit a detailed analysis. Please feel free to ask if questions or comments.
Below: Ms. Epi (L); SwallowSong ®
John's Process
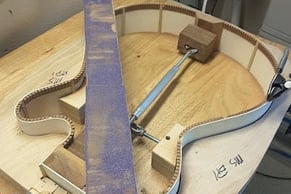
Now bent, the sides go in the mold.
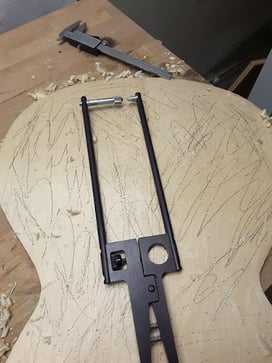
A marking gauge and a Hacklinger are used to ascertain final thickness. As I work, I’m tapping for tonality and resonance.
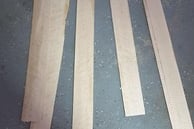
Step the next is bending sides. Here, sides are stripped from figured maple, sanded to thickness, and are ready to be bent.
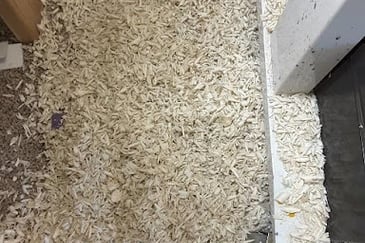
I’ve started out with a 5 pound chunk of Sitka spruce (8 pounds for the back). The finished top weighs a few ounces, so most of the wood is now shavings.
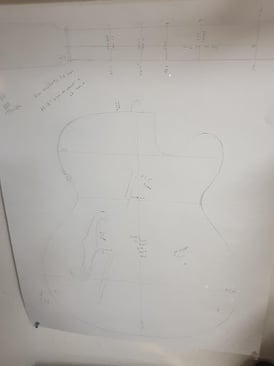
The first step was creating accurate drawings and measurements. For the outside, I did careful tracings verified with measurements. For the inside, I used a Hacklinger gauge to determine thicknesses. The Hack also helped in locating the exact position of the tone bars.
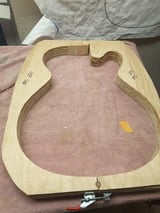
Measurements in hand, it was time to construct an exterior mold to hold and determine the guitar’s outside shape.
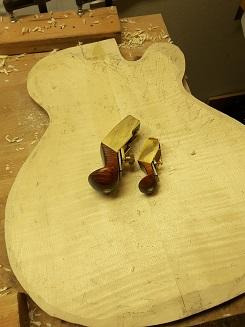
After joining, the carving begins. Fine palm planes are used for much of the work, and I’m using arching templates made from Ms. Epi measurements to get the archings correct.
So now it’s time to start carving the arched top.
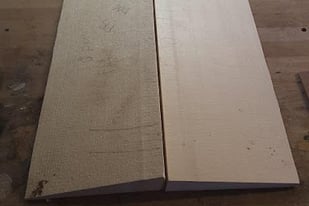
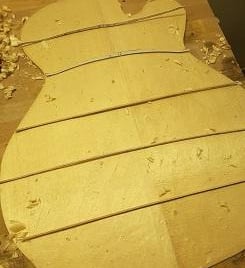
The first step is uniting the halves of a billet of spruce. Shown here is a billet for a carved mandolin: the wood for an archtop guitar is (of course) much larger.
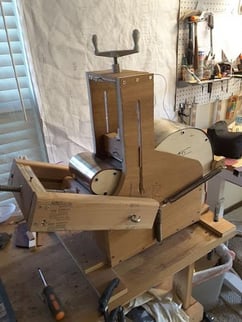
Sides, soaked in water, are now put in the bending jig, heated, and bent to the proper shape.
Thanks to Mark Bruhn for helping build the bending jig below from a blueprint!
Followed by head and tail blocks plus kerfed linings…




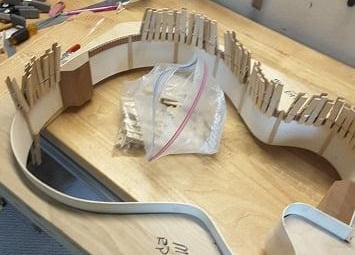

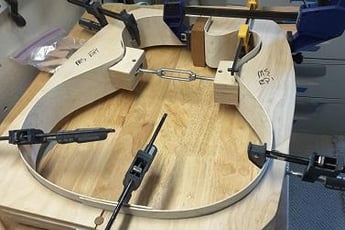






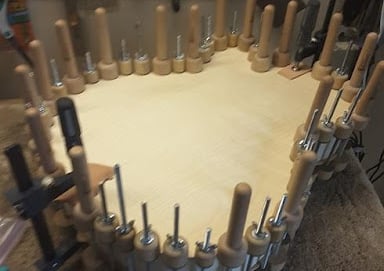




I’m using spool clamps to hold things together while the glue dries. Now, the back, having been reduced by palm plane from several pounds to a few ounces, is fitted to the body of the instrument. Weeks have flown by at this point, since carving the plates is arduous and time-consuming.
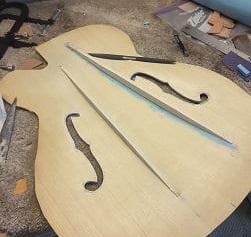
Top carved, graduated, and sanded. F-Holes cut. Now time to fit and tune the tone bars. This is one place where I’m deviating from Ms. Epi: the original is X-braced, and I’m going with parallel bracing.
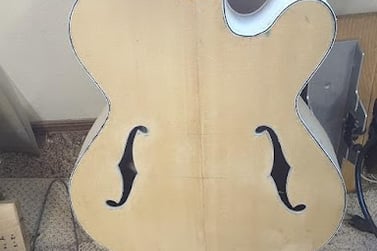
With F holes cut and braces installed, shaped, and tuned, it’s now time to fit the top to the body.
This is accomplished by level-sanding the sides and blocks until the top fits neatly into place
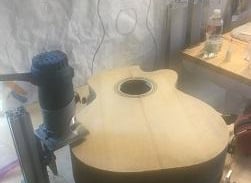
Now that the body/box is finished, it’s time to cut binding channels and install binding. I’m now using a router-based jig that does the job quickly and precisely. This pic is a flattop currently under construction.
But here is the result: body bound (but not gagged) and ready for the next step: the neck. Note that I’ve bound the F-holes on this instrument, which is a bit tricky. Top bindings have been triple-laminated (white/black/white) before installation. Binding channels must be precisely cut to match the width of the binding. Back is single-bound.
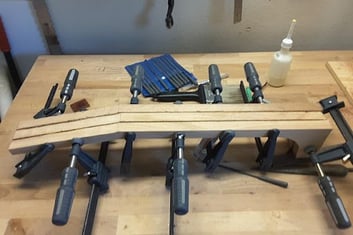
Body is done. Now time for the neck. I’ve laminated birdseye maple with walnut inserts for strength and eye appeal.
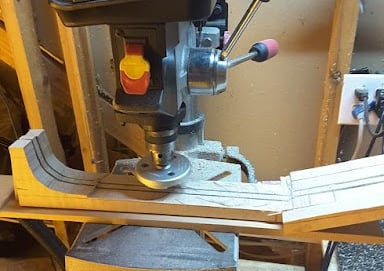
Using the Safe-T-Planer with my drill press, I shape the back of the neck to the specific thickness taken from Ms Epi. Note that I’ve now cut and glued the “ears” of the headstock. Truss rod slot has been routed on the other side.
At about the same time, I’ve run an ebony fingerboard blank through the drum sander and reached a uniform thickness of ¼”. This ebony is very dark, tight, and heavy: part of a parcel of woods from the ‘70’s that I bought from a retiring luthier. It’s now very difficult to find ebony of this quality.
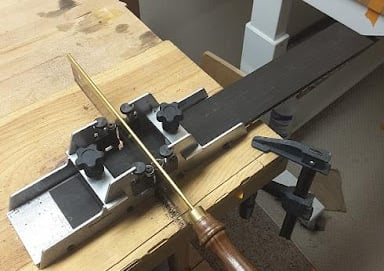
Below, I’m using a Stew Mac jig to hand cut fret slots. Ms. Epi has a 25.5” scale, and I’m cutting slots to those specifications.
Once fret slots are cut, it’s time to route and install the swallow inlays. To do this, I’ve lightly glued the inlays into place, then scribed around them using a small tool visible just south of the Dremel. I’ve then outlined the scribe marks with white chalk for better visibility. Then, using a tiny router bit with the Dremel router, I’ve cut mortises to the correct depth to exactly fit the inlays. I’ve already applied the headstock veneer with RiverSong logo, and you can see that I’m in the process of setting inlays in the veneer.
Board is not yet glued to the roughed-out neck. I’ll fit the board exactly in position and glue it. You can see that a good bit of extra wood will need to be removed from the neck blank before the next step.





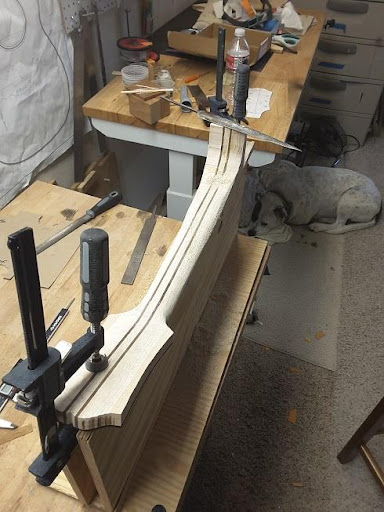

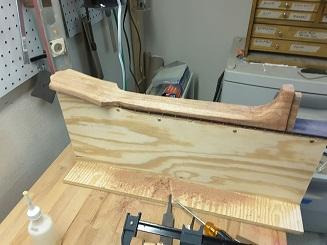

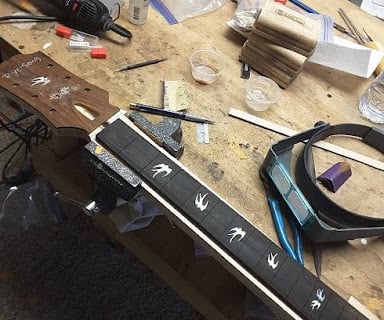

Roughed out neck, board glued in place, is now fitted to the carving jig.
Once the neck has been carved to my satisfaction, it’s time to fit the neck to the body. Next, a shot of the dovetail tenon which corresponds with the mortise in the body,
Once the neck is attached, the build is mostly complete. What remains is extensive and arduous clean-up before finish: scraping bindings, filling small cavities, sanding the stew out of the instrument-to-be. In the finishing process, I’ll be shooting nitrocellulose lacquer. It’s great stuff—and it instantly reveals any scratch or file mark that I’ve missed in the sanding process. So I take my time—a week or so at least—in final preparations before shooting finish. But at last I’ve done what I could do, and I’m ready to shoot.
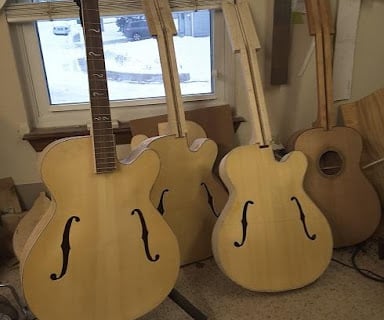
And in these nearly-completed archies below, the neck is loosely fitted to the body. The next and critical step is chalk-fitting the neck to its precise location before gluing it in. The fitting is multi-dimensional: it must line up exactly along the center line of the body and must be of the exact height so that the strings will meet the bridge at about 1” high. In addition, the neck must be exactly centered so that there is no “pitch” or “roll.” This is another time-consuming process as I trial fit the neck, remove a bit of wood as indicated by the chalk marks, and repeat this process until I have an exact fit. I use the traditional hot hide glue as the last step. Below: guitars awaiting final neck fitting.
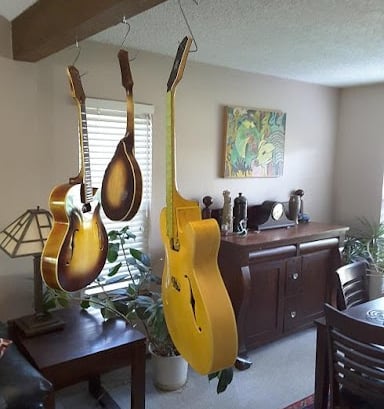
3 instruments with fresh lacquer. I’ve shot sunburst on 2, and all have an early coat of amber for warmth and beauty. The guitar on the right is not SwallowSong. Cavities for 2 humbucking pickups are evident, and this one will be completed as sunburst as well.
10 coats of lacquer over a couple days creates a nice shiny finish—from a distance. Up close, you’d see a fine pebbly orange-peel. So after 2 weeks for the finish to set up and harden, I’ll wet-sand the instrument, beginning with 800 grit and moving through to 2000 grit, until the finish is flat and lusterless. And then the magic: I will buff the finish out.
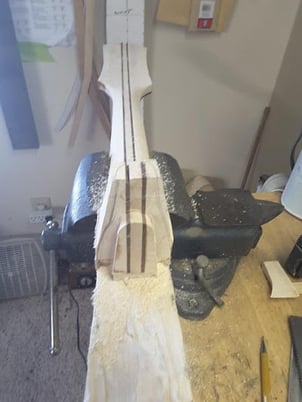
In the next photo, I’m shaping the neck contours with a coarse rasp. Poppy the Wonder Dog is providing moral and technical support. I’ve not detailed couple of steps evident here. The dovetail joints have been cut in both the body and the neck, and I’ve used the white template visible on the bench to determine and then bandsaw out the final headstock shape.
I’ve taken careful measurements of thicknesses and widths from Ms. Epi and have applied these to the new construction. I’ve also used a contour gauge to take readings at the nut, 3rd, 5th, 7th, 9th, and 12th positions. With measurements in hand, I’ve situated the neck blank on a carving jig and am getting to work. You can see that the area around the headstock is beginning to look like a guitar neck, while the area closer to the heel still needs a lot of material to be removed
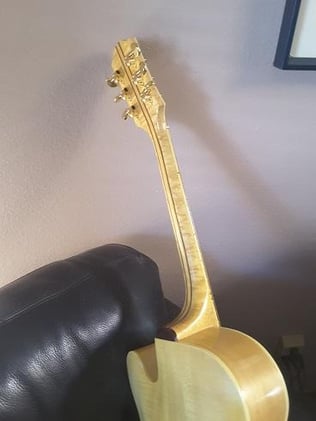


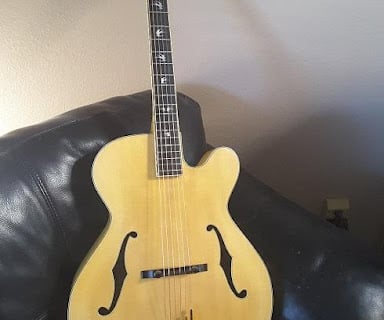



With the finish done, it’s time to convince this contraption of wood and wire that it’s a musical instrument. I’ll cut the nut from bone and fit it in place, fit the bridge feet to the contour of the top, add tuners and tailpiece, and do a basic setup. Above, SwallowSong complete and ready to play.
A few more shots of the completed instrument:
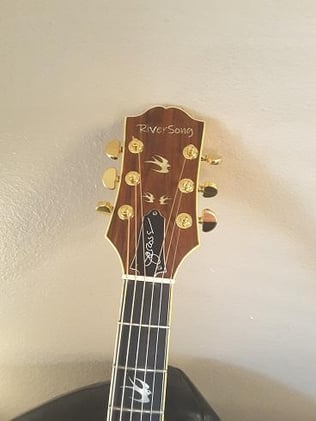

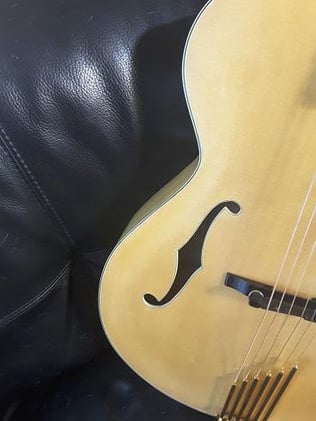

bi-di- a-bi-d a-bi-di That’s All Folks!
I’m now playing SwallowSong in, convincing her that she has been transformed from woods and wires to a musical instrument, making small adjustments. She is in the process of becoming a lady of strong and powerful tone and projection.
Thus concludes a brief overview of the genesis of this guitar. I’ve necessarily scanted some steps in the building process (carving plates, etc.), and omitted other steps entirely (routing truss rod slot in neck and fitting the rod, etc.), partly because of length, and partly because I have no pictures of this step, having no notion of creating this photo essay until I was finished with the build. Thus, some pictures are of previous guitars. Still, the steps are the same.
CONTACTS
John Cross
720.883.6728
Jcross@riversonglutherie.com

